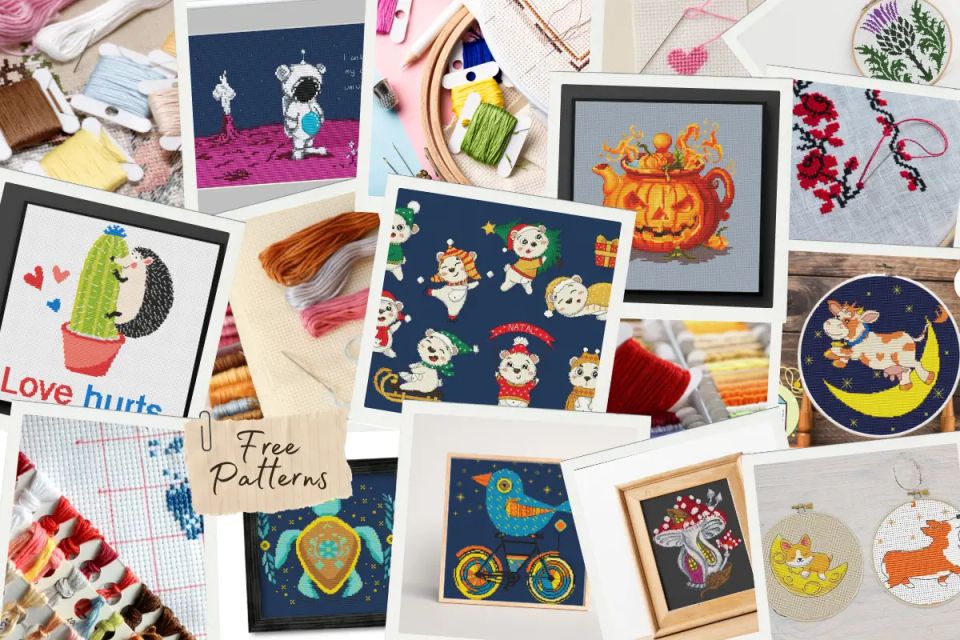
How to Make a Cross-Stitch Pattern with Graph Paper
Learn how to make a cross-stitch pattern with graph paper easily. Perfect for beginners and experienced stitchers alike!

Are you looking to unleash your creativity and make a truly personalized cross-stitch project? Have you ever found yourself in any of these situations:
- Searching for a design that perfectly fits a specific person or occasion, but coming up empty-handed?
- Thinking, "This pattern would be perfect, if only..." as you browse through options?
- Wanting to customize a cross-stitch project with names, dates, or meaningful quotes?
- Wishing to tweak elements in a design to make it more personal and unique?
If so, it’s time to explore the possibilities of cross-stitch graph paper!
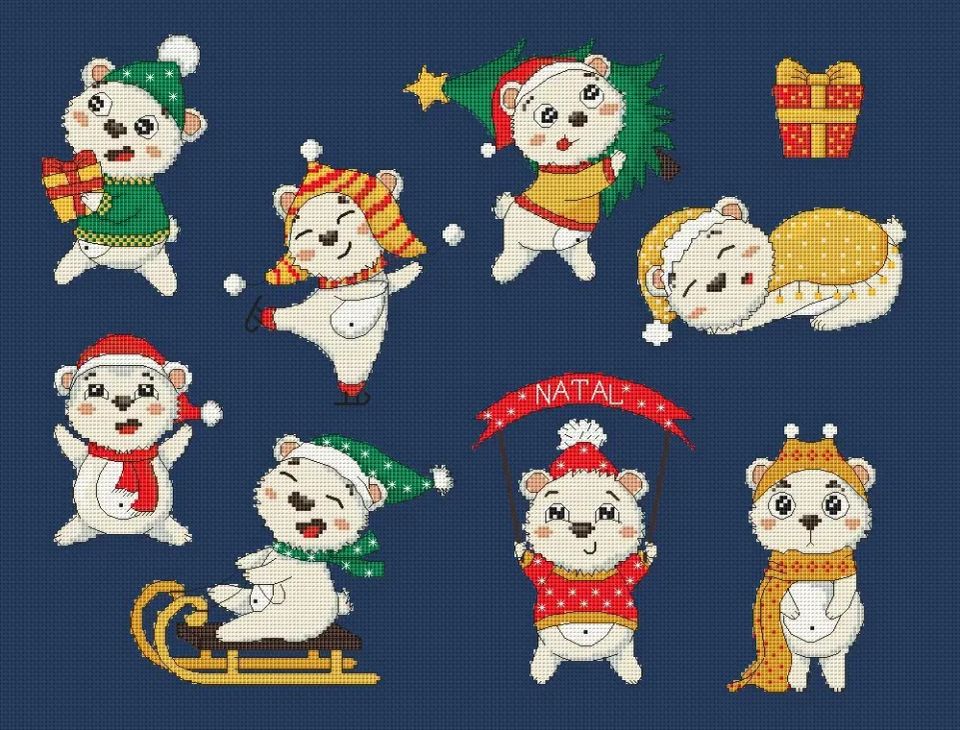
Learning how to make a cross-stitch pattern with graph paper is a fun and rewarding way to craft designs that reflect your unique style. Using this method, I transfer cross-stitch patterns from old books, magazines, or photos that I find appealing but lack precise images. Of course, I transform and creatively reinterpret all these designs, making my collection unique and respectful of copyright.
This guide will walk you through the process step-by-step. Let’s dive in and explore how to transform your ideas into stunning stitchable art!
Why Use Graph Paper for Cross-Stitch Patterns?
Cross-stitch graph paper features a grid of horizontal and vertical lines that serves as a foundation for designing stitchable images. Whether using physical paper or a digital tool, designers use this grid to place symbols in each square, representing specific stitch types and colors.
Graph paper is an ideal tool for creating cross-stitch patterns because its grid format perfectly matches the structure of cross-stitch fabric. Each square represents one stitch, making it easy to visualize and plan your design before you pick up a needle. This is the method our grandmothers and great-grandmothers used to create their cross-stitch designs. It is simple and accessible for patterns of any complexity. You can use either paper or a digital template.
Additionally, graph paper offers:
- Precision: Avoid uneven or misaligned stitches.
- Flexibility: Easily modify or adjust patterns.
- Creativity: Experiment with custom designs, shapes, and color palettes.
What You'll Need to Get Started
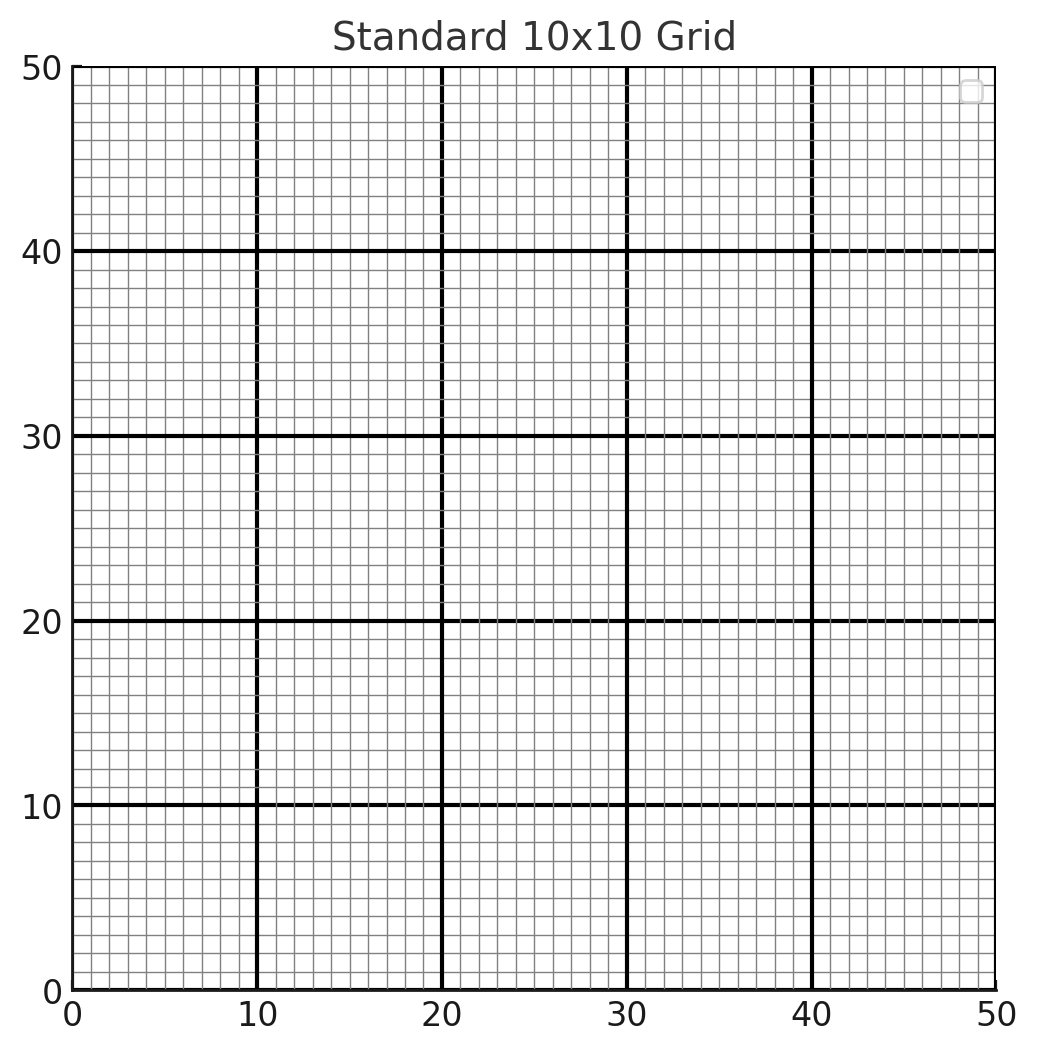
The first thing to understand is that most cross-stitchers, including all commercial designers, use a standard 10-square grid for creating their charts. This grid features bold lines every 10 squares, both vertically and horizontally. These bold lines make it easier to calculate the dimensions of a design. With a glance, you can count by tens to determine the number of stitches in the length and width. This is an essential step in figuring out the size of your design on different fabric counts.
To begin designing your cross-stitch pattern with graph paper, gather the following supplies:
- Graph paper: Preferably with small squares (4x4 or 5x5 grids per inch).
- Pencils and erasers: Essential for sketching and adjusting.
- Colored pencils or markers: To add vibrant details to your design.
- Ruler: Helps with symmetry and straight edges.
- Reference images (optional): For inspiration or tracing.
Pro Tip: When designing, I often need to visualize how much detail I can fit into the available space. To do this, I select cross-stitch graph paper that matches the fabric count I plan to use and draw an outline representing the size I have to work with. As I start sketching my design, this helps me imagine how the finished piece will look, how the design elements fit within the space, and how many details I can incorporate.
Here’s an example: Suppose I want to create a design to fit into the 3" x 5" window of a greeting card. My design must fit within 3 blocks by 5 blocks.
Using 9-count graph paper (and fabric), I draw a rectangle with these dimensions:
- 3 inches x 9 count = 27 stitches wide
- 5 inches x 9 count = 45 stitches high
I quickly realized that with so few stitches, I couldn't include enough detail in my design.
Next, I try 14-count graph paper (and fabric):
- 3 inches x 14 count = 42 stitches wide
- 5 inches x 14 count = 70 stitches high
I continue this process until I find a fabric count that gives me enough stitches to achieve the level of detail I need. However, when I prepare the final cross-stitch pattern for publication, I always return to using the standard 10-square grid for consistency.
You can download free cross-stitch graph paper or use a grid generator tailored for cross-stitch designs.
Step-by-Step Guide to Creating a Cross-Stitch Pattern with Graph Paper
Start with a Vision
Before touching your pencil, decide on the theme of your design. Are you creating a floral motif, a geometric pattern, or a custom monogram? Having a clear vision will help guide your process.
Prepare Your Graph Paper
- Select graph paper that suits the scale of your project. For smaller projects, a grid with larger squares is fine, but for intricate details, opt for finer grids.
- Lightly label rows and columns with numbers to keep track of your stitches.
Sketch Your Design
- Begin by lightly drawing your design with a pencil. Start with the main shapes or outlines.
- Use simple geometric shapes (e.g., squares, circles) to build your image.
- Keep your design proportional by using a ruler or aligning with the grid’s natural symmetry.
Add Colors and Details
- Once your basic sketch is complete, use colored pencils to fill in areas of your pattern.
- Experiment with different color combinations, shading, and textures.
- Ensure that each color section is clearly defined to avoid confusion while stitching.
Refine Your Pattern
- Double-check for inconsistencies or areas where the design might not align perfectly.
- Erase and adjust as needed.
- Remember to simplify overly intricate designs—cross-stitch patterns should balance detail and clarity.
Finalize the Pattern
- Trace over your design with ink or a dark marker for better visibility.
- Make notes of thread colors (DMC codes or similar) in the margins if you’ve planned your palette.
Tips for Designing Cross-Stitch Patterns
- Start Small: For your first pattern, aim for a design that’s 20x20 or 30x30 stitches to avoid feeling overwhelmed.
- Use Symmetry: Symmetrical designs, such as simple mandalas or hearts, are beginner-friendly and visually appealing.
- Incorporate Negative Space: Don’t feel obligated to fill every square. The fabric color can add depth and contrast.
- Test It Out: Before committing to a large piece, try stitching a small section to ensure the pattern works as intended.
Advantages of DIY Cross-Stitch Patterns
Creating your own cross-stitch pattern offers numerous benefits:
- Personalization: Design motifs that resonate with your interests, hobbies, or loved ones.
- Cost-Effectiveness: Avoid buying expensive pre-made kits.
- Skill Development: Enhance your artistic and stitching skills.
Common Mistakes to Avoid
- Overcomplicating the Design: Keep patterns simple, especially for beginners.
- Neglecting Proportion: Ensure your design fits your chosen fabric size.
- Skipping Color Planning: Poor color choices can detract from your design’s beauty.
- Forgetting to Test: Always test patterns for feasibility before starting a full project.
How to Transfer Your Pattern to Fabric
Once your design is complete, it’s time to bring it to life! Follow these steps to transfer your pattern:
- Prepare the Fabric: Choose a fabric like Aida cloth and ensure it’s clean and wrinkle-free.
- Mark the Center: Fold your fabric to locate the center point, then mark it lightly with a washable pen.
- Begin Stitching: Use your pattern as a guide, starting from the center outward.
FAQs
What type of graph paper works best for cross-stitch? Fine-grid graph paper (4x4 or 5x5) works best, as it aligns closely with most cross-stitch fabrics.
Can I create a pattern from a photo? Yes, you can. Use a photo with simple images on it, trace the photo onto graph paper, or use software to convert images into stitchable patterns.
How do I plan colors for my design? Use colored pencils or markers and note down thread color codes for clarity.
What if I make mistakes in my pattern? Mistakes are part of the process! Erase and refine your design as needed, or adjust while stitching.
Do I need expensive supplies? Not at all! Basic graph paper, pencils, and Aida cloth are affordable and accessible.
How long does it take to create a pattern? It depends on the complexity, but small patterns can be completed in a few hours.
Designing a cross-stitch pattern with graph paper is a simple, enjoyable process that allows you to create unique projects. With just a few basic supplies and a dash of creativity, you can turn your ideas into beautiful handmade art. Ready to give it a try? Grab your graph paper, unleash your imagination, and let your needle bring your vision to life!